Wednesday, December 31, 2014

2014 Garden Bed Recap

Taking a page from Helen's End of the Month yearly garden recap over at The Patient Gardener, I wanted to reflect on all the progress I've made in my gardens this year.  Thanks to Helen's End of the Month meme, I have a collection of photos throughout the year on how all of my gardens have transformed over the seasons.  It is pretty amazing to look back and see all the gardens I added, as well as how the plants have matured during the year.  Here is a look at my garden beds throughout the year...

WARNING:  A lot of garden pictures are included below.  Reader beware.

Veggie Bed
The veggie bed had its most productive year yet, raking in over 75 pounds of fresh produce.  The tomatoes, eggplant, peppers, and cucumbers were especially productive during the summer months.

Butterfly Bed
The butterfly bed is a wild and crazy bed.  It has a little bit of everything in it, from lantana to wildflowers, to perennials to annuals, all with the hope of attracting butterflies and hummingbirds, which it was quite successful at this year, even though it isn't the prettiest kept bed.


Bulb Bed
This bed started with some gladiolas, a couple irises, one or two dahlias, a few daylilies and calla lilies, and a handful of Black-Eyed Susans.  I added a bunch more irises later in the year, some daffodils, and some oxblood lilies.  I plan to add more dahlias in the spring.

Shade Tree Bed
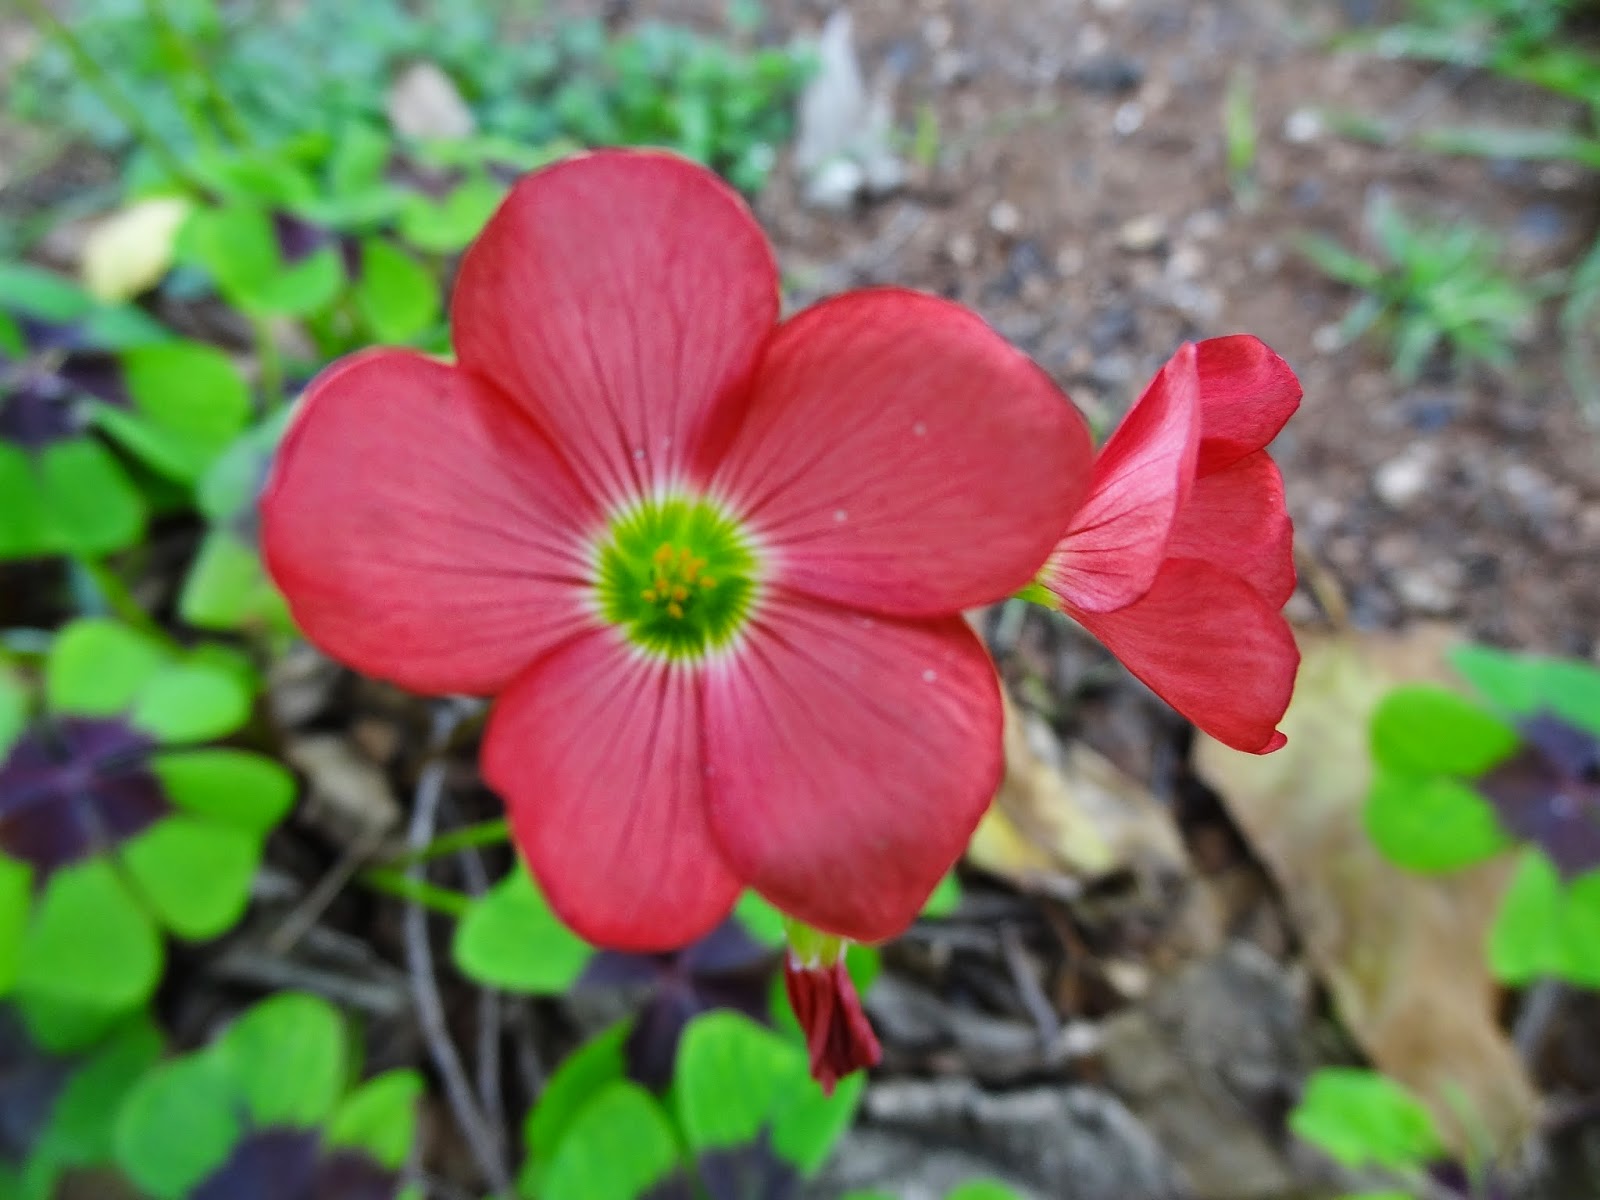
One of the new beds this year was the shade tree bed.  We had the stonework laid and then filled it with rich soil and compost.  Next, a variety of shade-loving plants were added, including Turk's cap, American beautyberry, Texas gold columbine, shrimp plant, lithrope, pigeonberry, oxalis, astilbe, spider plant, and purple heart.  I still have room to add some more plants and would like to add some more evergreen species.
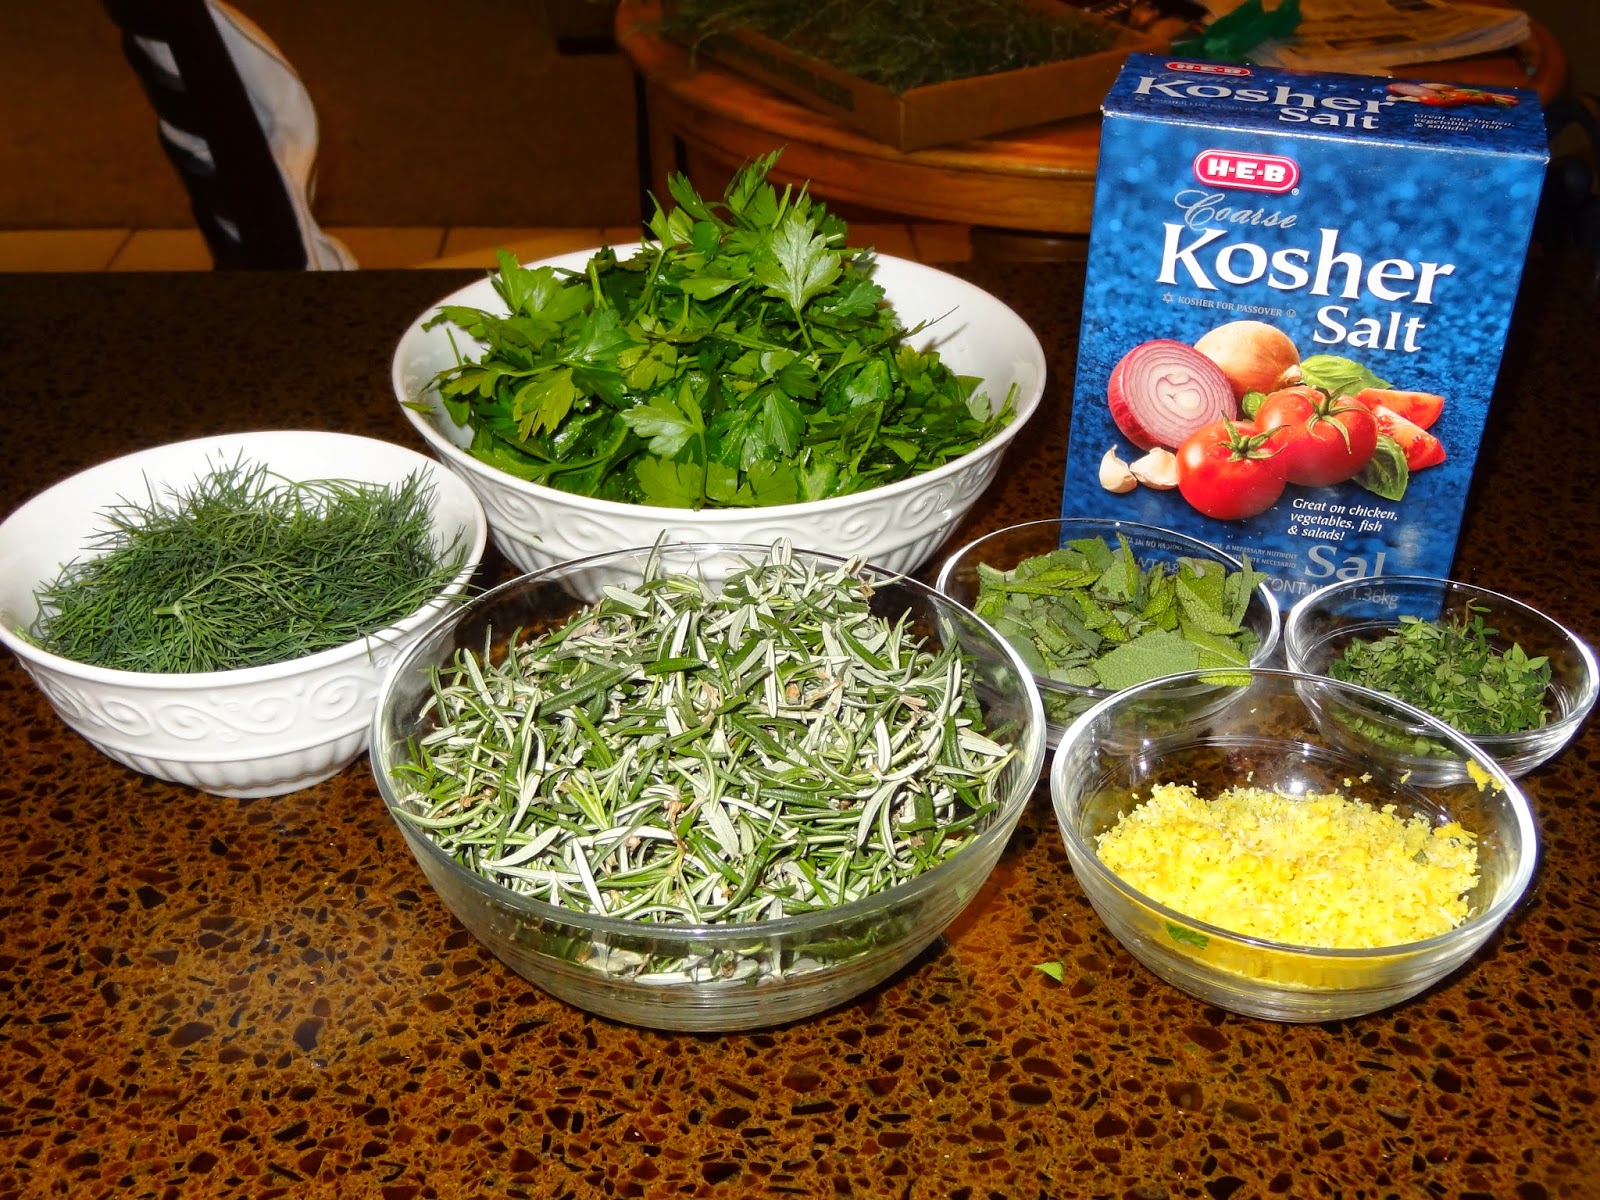
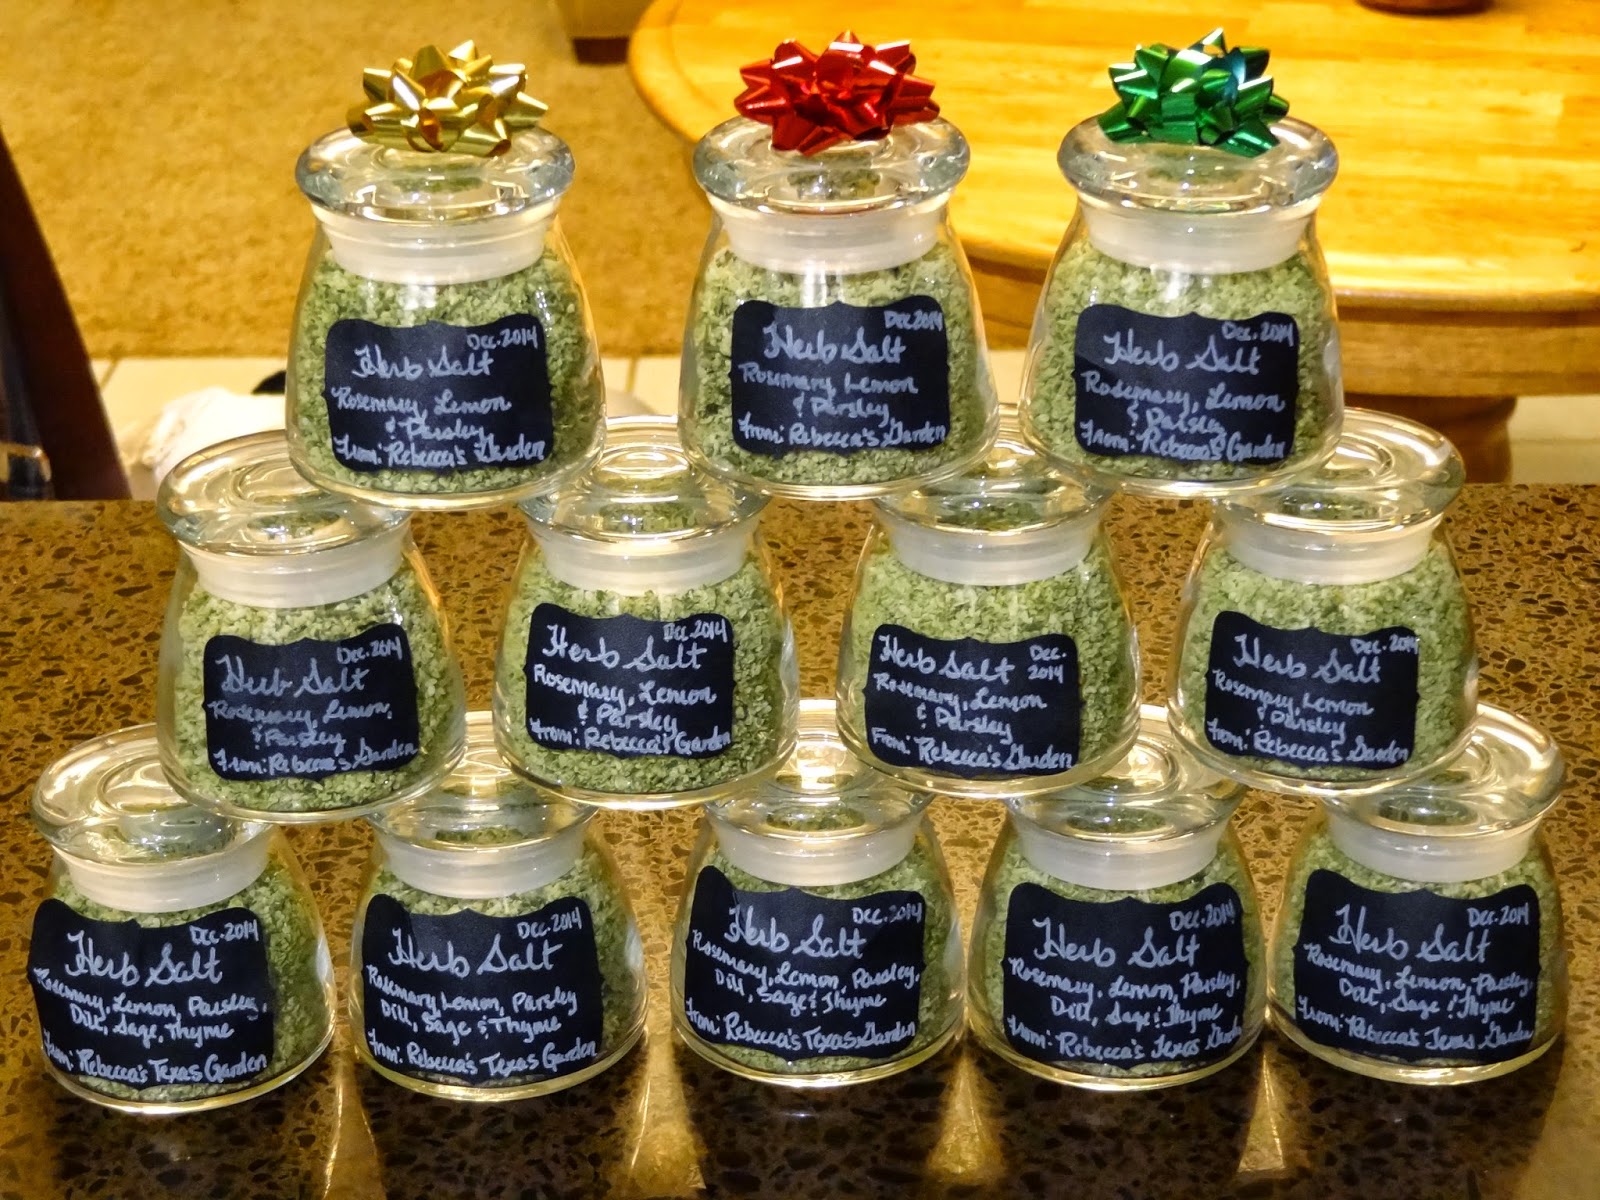
Deck Bed
This was another new bed this year and primarily became the herb bed.  I also have an artichoke, some society garlic, irises, spider lilies, alliums, and poppies planted.  The herbs in the ground definitely survived drought, heat, and freezing temperatures better than the container herbs.  I will try to move more of my herbs to this bed going forward so that they are longer-lasting.
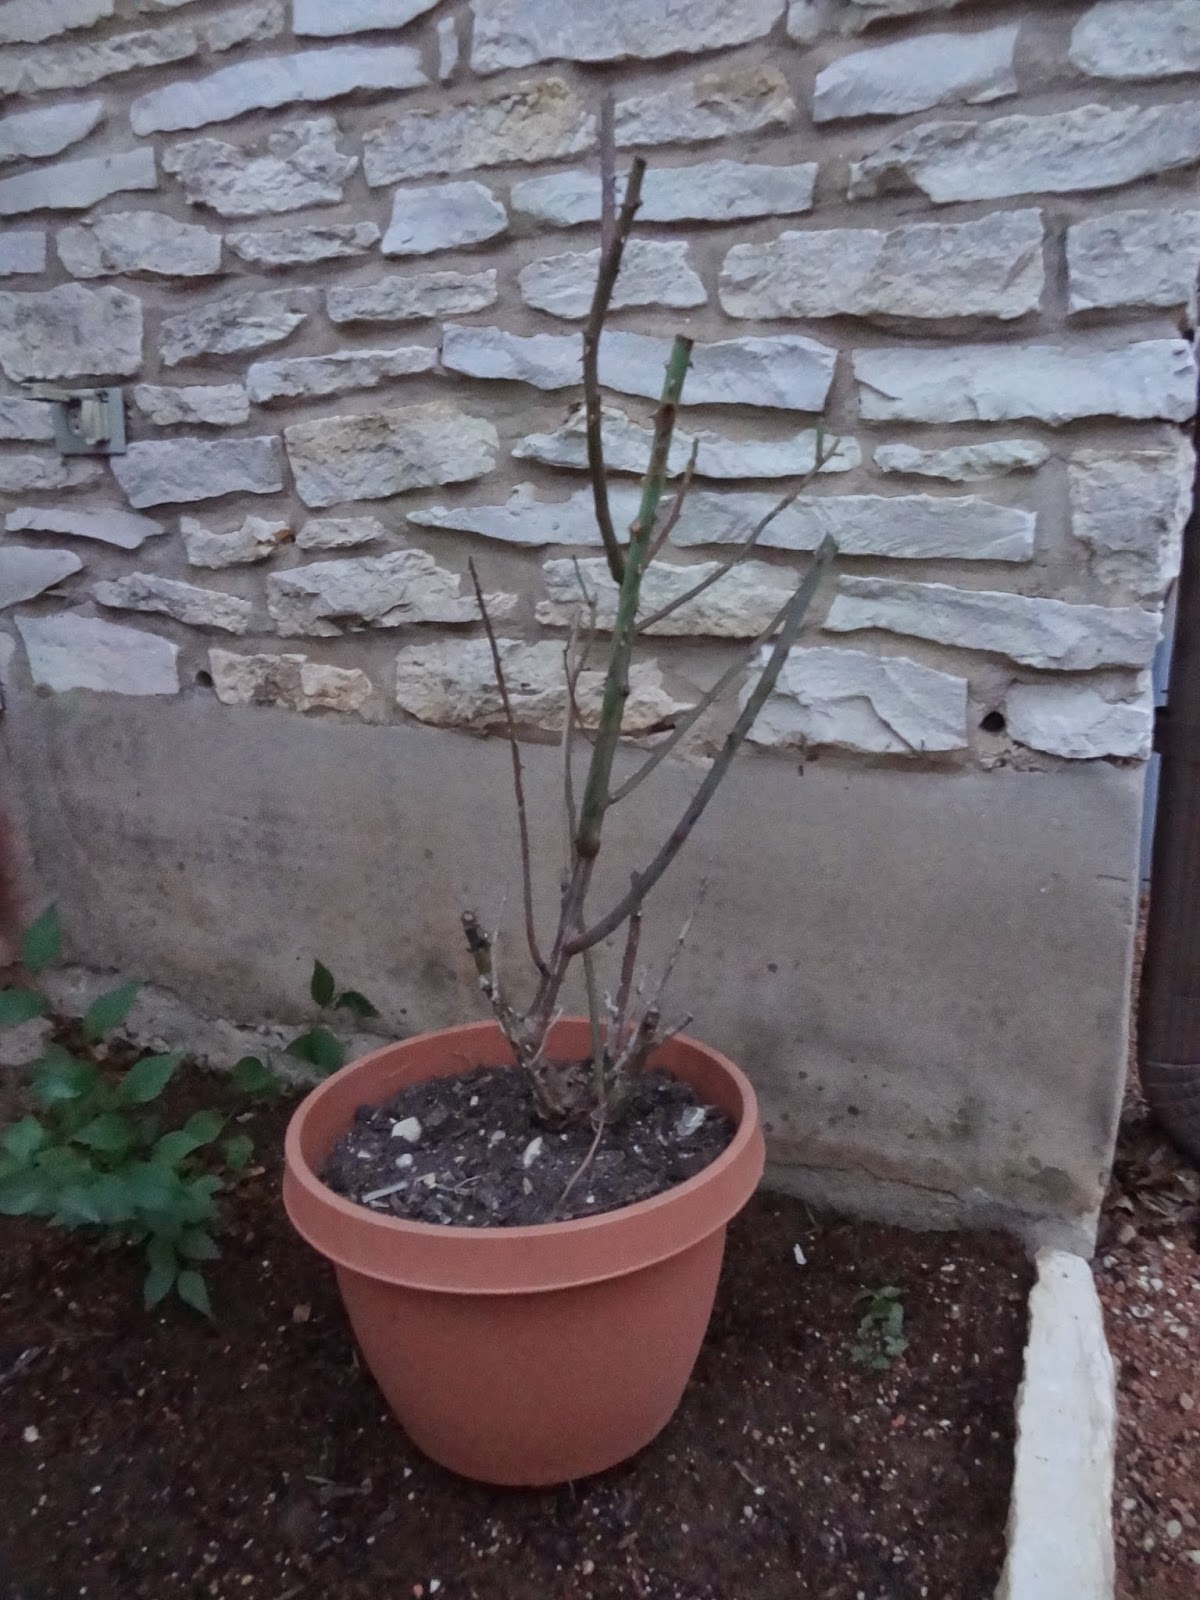
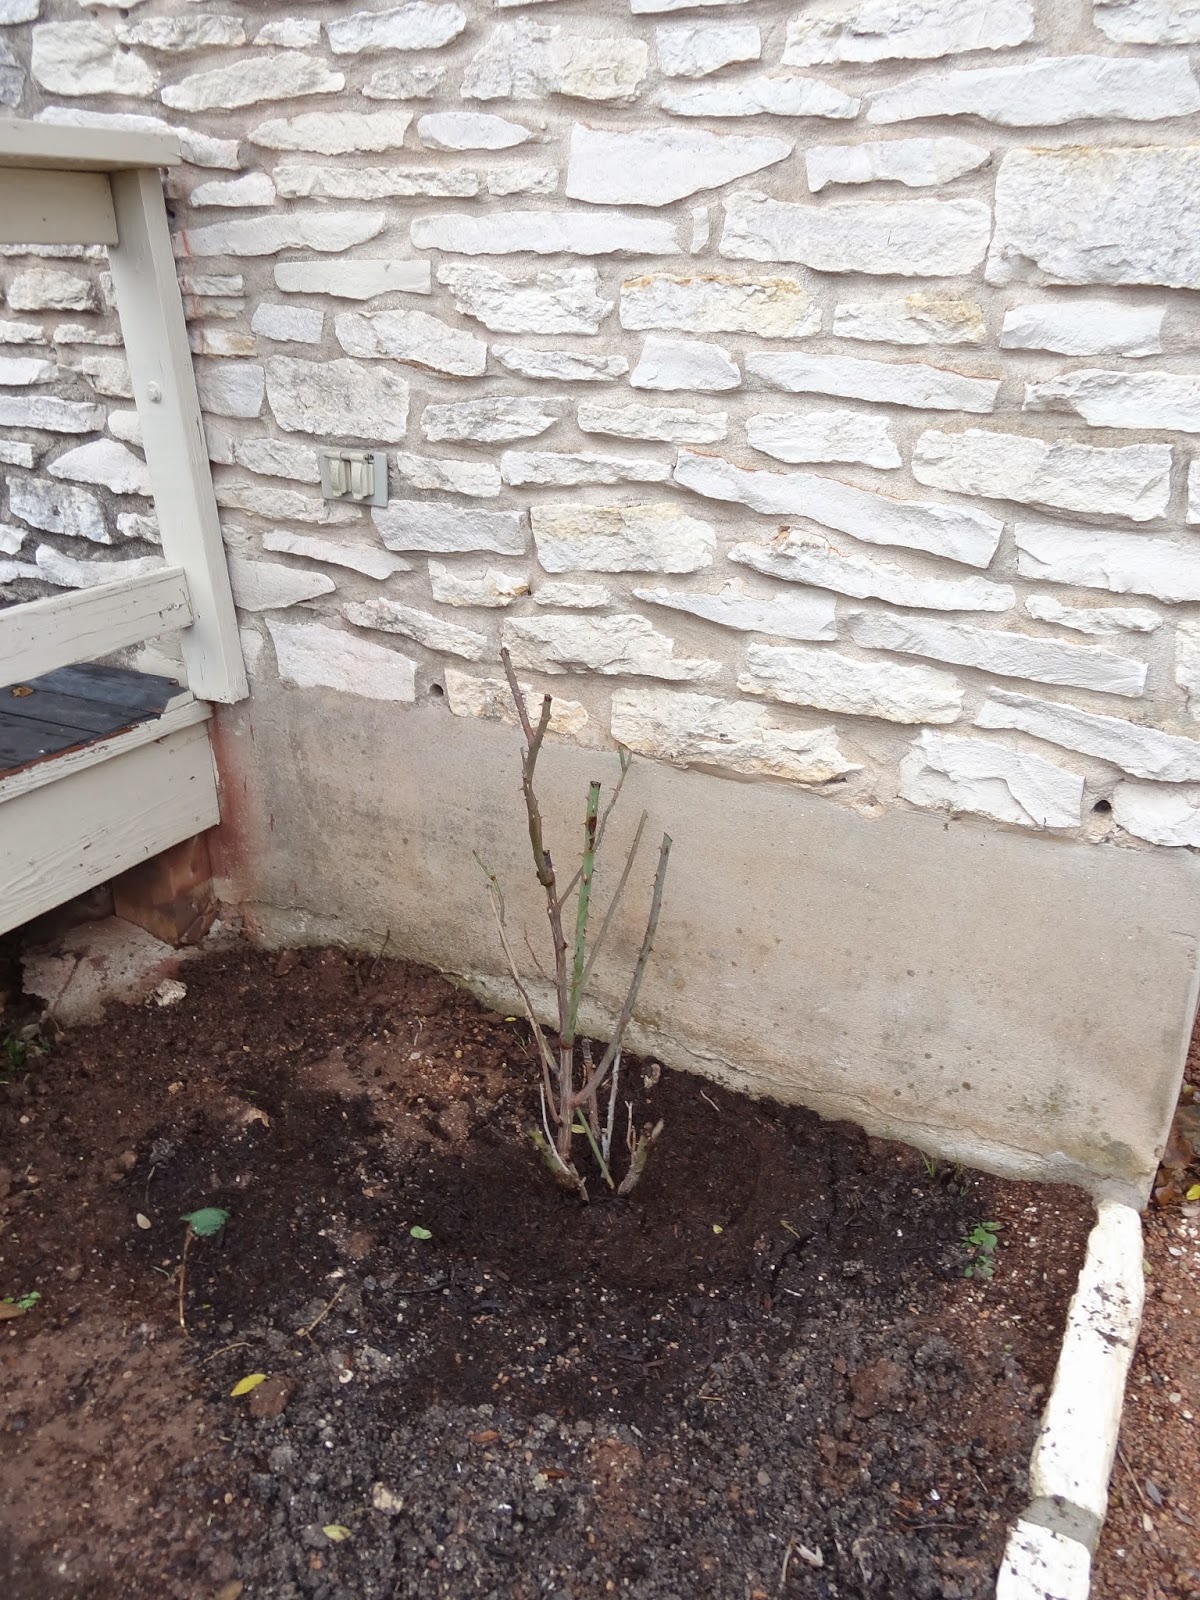

Fence Line
Big changes happened along the neighbor fence line this year.  Most notably, we lost a tree in a bad wind storm.  The tree had been rotting on the inside.  I'm gonna blame the drought on the death of that guy.  In the new bed that was added all along the fence, I planted a duranta, Belinda's Dream rose, Garnet Sash pomegranate, gardenia, irises and divided my canna lilies for a bigger effect.  I still have plenty of room along the fence and hope to get more rose bushes planted this coming spring.


Triple Threat
My triplet bed, which surrounds the peach tree, was added this year.  So far, I've planted an Artic Frost Satsuma, tropical milkweed, fall aster, irises, coneflower, mistflower, lavender, paperwhites, amaryllis, larkspur and poppies.  I can't wait to see what these beds look like come spring.


Front Bed
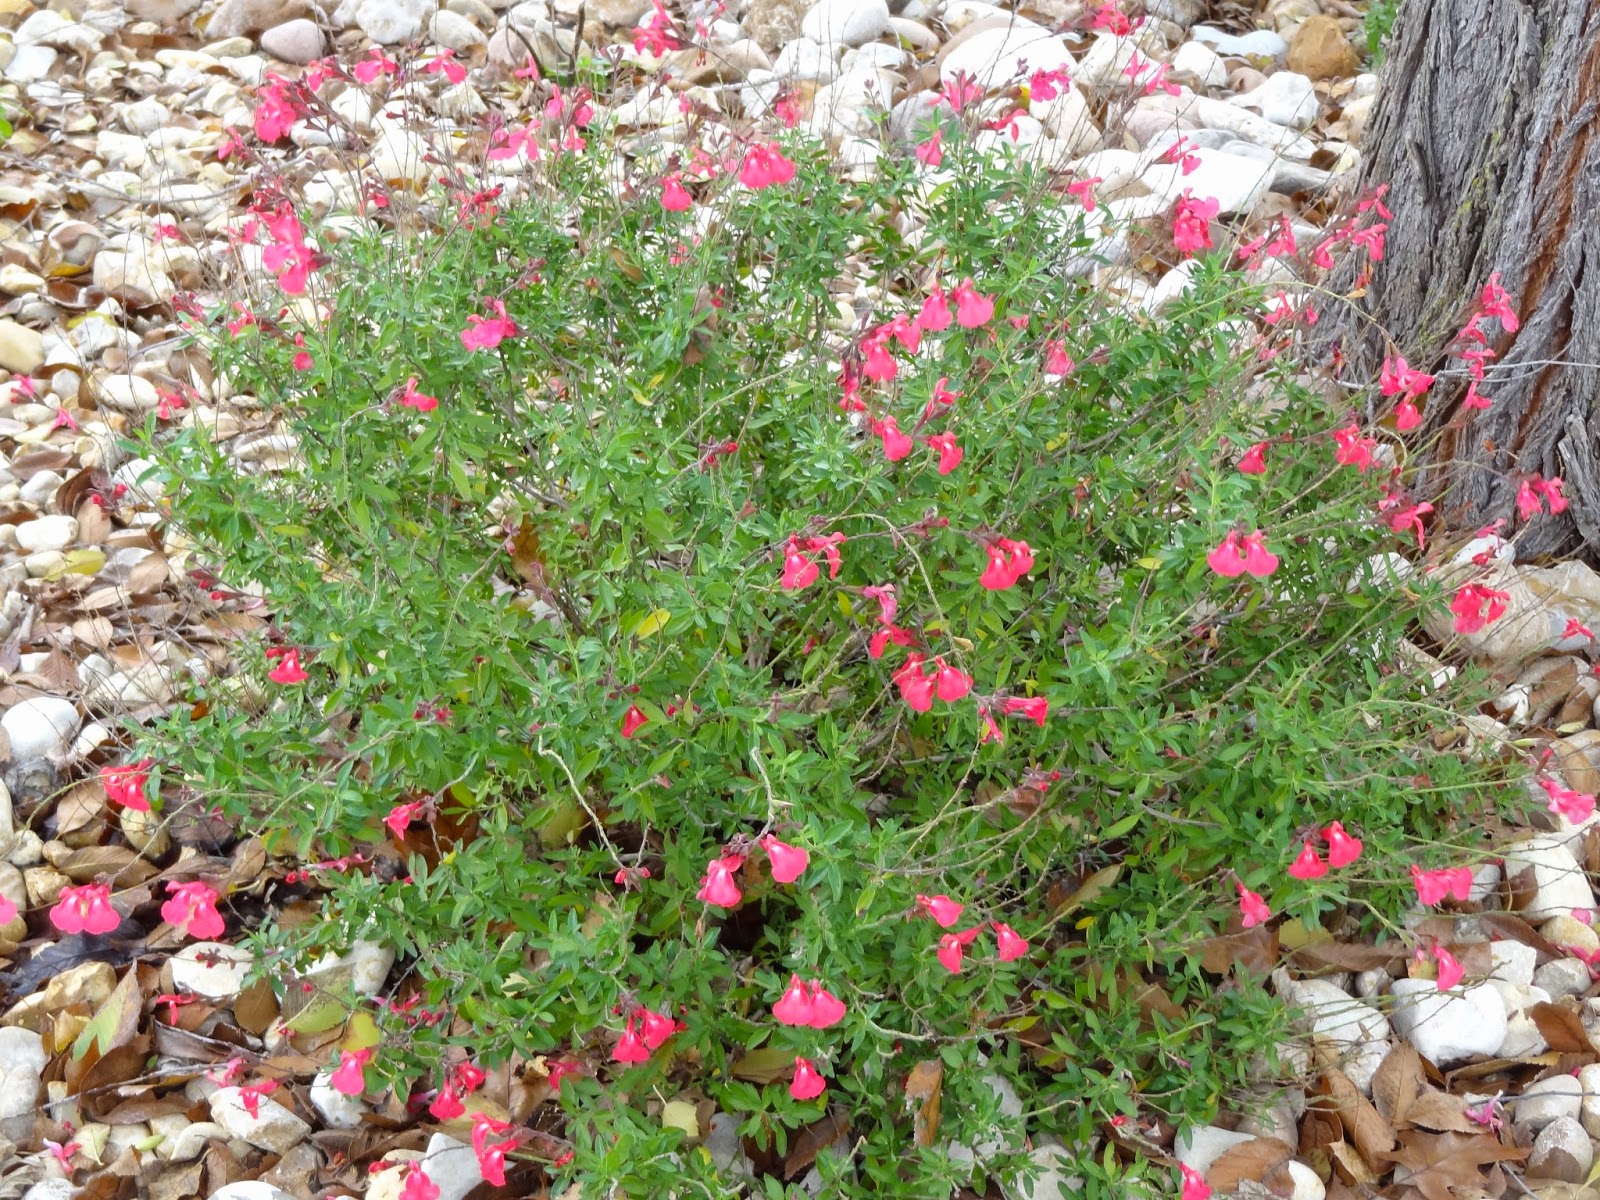
The front bed got a landscaping overhaul this year.  Limestone was re-arranged and mason work done.  River rock stones were added for a xeriscape look.  Various salvia plants were added, along with guara, rock rose, spineless prickly pear, red yucca, lantana, and vitex.
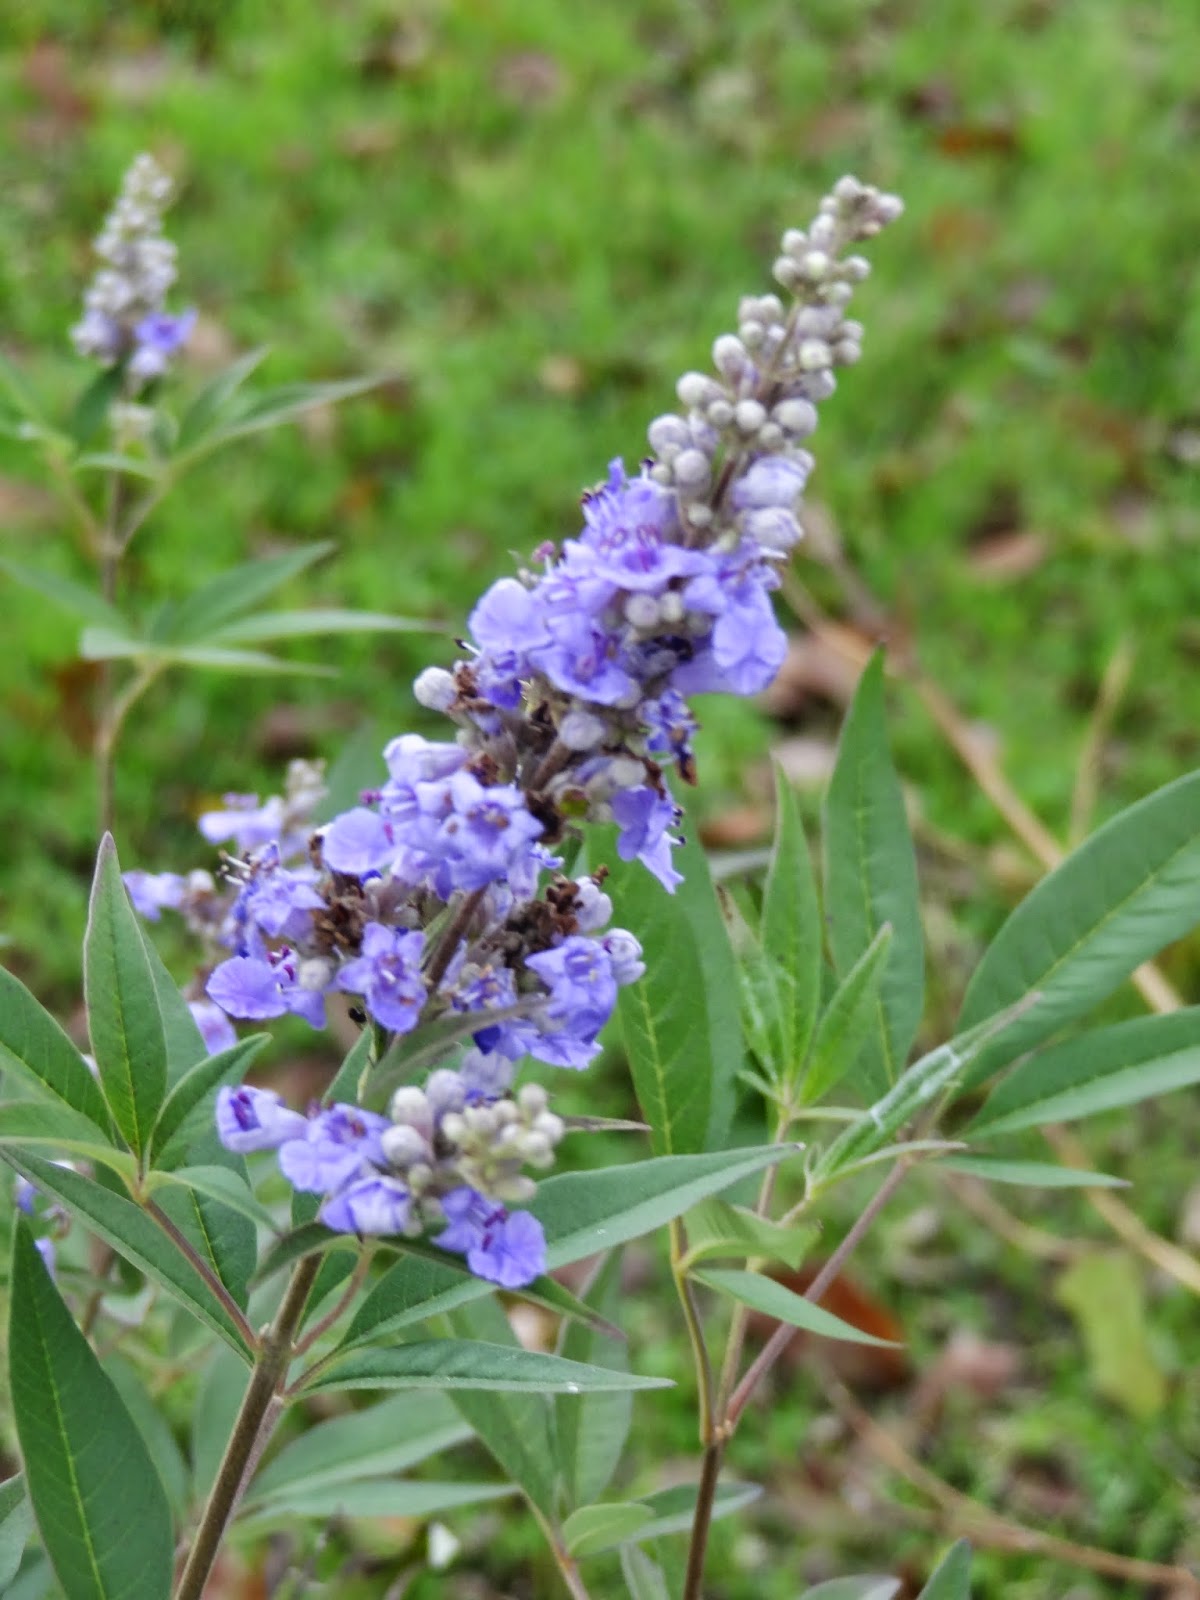
Front Fence Line
This is another new bed this year where I planted black-foot daisies, plumbago, coral honeysuckle, thryllis, purple fountain grass, Mystic Blue salvia, copper canyon daisy and a butterfly bush.  The plants didn't grow much this year, but I'm expecting the bed to really fill out next year.

Left House Border
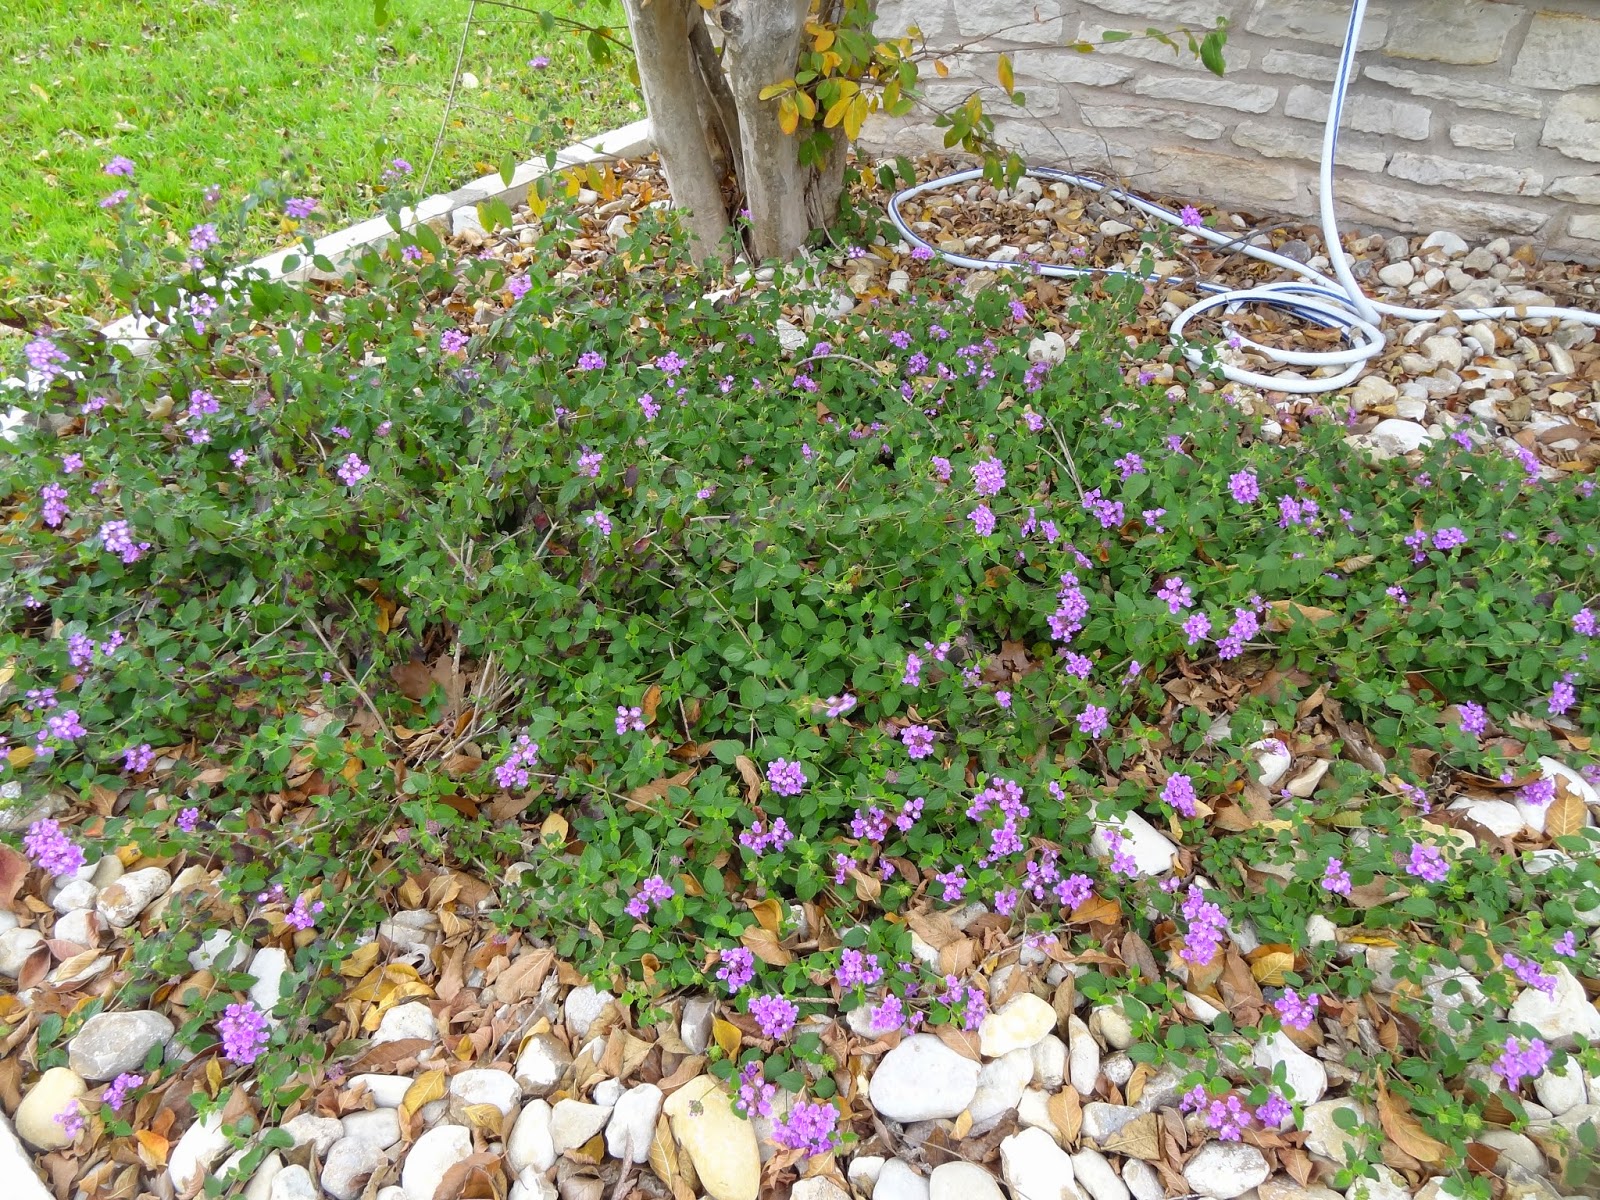
Our front house borders were also redone this year since they had completely been overrun with Bermuda grass over the past year.  In this bed, I already had various salvias and some Texas sage, along with an oleander.  Some purple, yellow, and cotton candy lantana were added along with some bi-color iris, rosemary, Mexican salvia, and skullcap.  These plants really took off this year and quickly filled in the bed.  They put on quite a show in September will all their colors.


Right House Border
Similar to the front left house border, the right side was redone this year.  We added river stone to keep the Bermuda grass infestation to a minimum and added some rosemary, salvias and sages, spineless prickly pear, lantana, skullcap, and bi-color iris.  So far, it is filling out quite nicely.


2014 brought a lot of growth to my Central Texas garden.  I can't wait to see what 2015 brings!

Monday, December 29, 2014

2014 Harvest Recap

Looking back on 2014, I can say that I really started honing my veggie gardening skills.  Overall, I hauled in 75 pounds and 2.2 ounces of veggies (at least, as far as I kept track of).  That is just over 34 kilograms for my non US readers.  Pretty decent! 

Some key take-aways of mine this year:

What I will do again:
  • Plant cucumbers and eggplant – they are my most productive crops and I found several new recipes this year that allow me to use up all my fresh produce.
  • Plant Early Girl, Juliet Roma Grape, Roma, and Sweet 100 Cherry tomatoes.
  • Plant all the same peppers, but maybe an extra Gypsy pepper since it was my most productive pepper for only having one plant.
What I won’t do again:
  • Plant Big Boy and Bradley Heirloom tomatoes – they produced a decent amount of fruit, but were very susceptible to being eaten by insects and other pests.
  • Plant so many jalapenos – I ended up not being able to use a lot of them

What I’ll change:
  • Plant more green beans in my shadiest garden bed.  They produced well in the shady veggie bed, much better than most other veggies.
  • Try squash plants one more time, but with row covers next year so that the squash vine borers don’t destroy all my plants.
  • Find a delicious okra recipe.  Okra is definitely the easiest veggie to grow in the Central Texas garden.  Unfortunately, most of my okra ends up going to waste because I’ve not liked any of the recipes I’ve tried so far.
  • Start more plants seedlings indoors and have them going throughout the year.  I still try to plant too many of one plant all at the same time.  I need to plant fewer plants at a time, but have several successions of the plants to elongate my growing season.
  • Keep my fall/winter veggies on an automatic timer.  I was good about watering my summer veggies, but think that I got lax during the fall when there was more rainfall.  However, it still wasn’t enough or consistent enough to help my plants grow quickly.
  • Fertilize more.  I’m good about putting compost in the beds when I plant new transplants, but haven’t kept up with regular fertilizing during the growing season.


Harvest Totals (since April)

  • 11 lb 11.1 oz Marketmore 76 Cucumbers (11)
  • 11 lb 0.1 oz Black Beauty Eggplant (12)
  • 5 lbs 6.3 oz Black Beauty Zucchini (3)
  • 5 lb 4.0 oz Long Eggplant (21)
  • 5 lbs Cherry Bell Radishes
  • 3 lb 12.0 oz Early Girl Tomato (12)
  • 3 lb 7.9 oz Okra (63)
  • 3 lb 5.5 oz Pic-N-Pic Summer Squash (5)
  • 3 lbs Giant Fordhook Swiss Chard
  • 2 lb 7.5 oz Juliet Roma Grape Tomato
  • 2 lb 2.4 oz Bush Blue Lake 274 Green Beans
  • 2 lb 2.3 oz Roma Tomato (22)
  • 1 lb 15.9 oz Sweet 100 Cherry Tomato
  • 1 lb 10.4 oz Big Boy Tomato (3)
  • 1 lb 10.2 oz Pablano Pepper (22)
  • 1 lb 10.1 oz Green Bell Sweet Pepper (10)
  • 1 lb 8.7 oz Gypsy Sweet Peppers (14)
  • 1 lb 7.3 oz oz Bradley Heirloom Tomato (4)
  • 1 lb 6.6 oz Spaghetti Squash (1)
  • 1 lb 2.0 oz Acorn Squash (1)
  • 1 lb 1.0 oz Butternut Squash (1)
  • 15.7 oz Jalapeno (9)
  • 13.7 oz Mammoth Melting Sugar Peas
  • 11.6 oz Mucho Nacho Jumbo Jalapeno (13)
  • 3.8 oz Serrano Pepper (14)
  • 2.1 oz Cayenne Pepper (9)
Goal for 2015 is to haul in over 100 pounds of fresh food!

Friday, December 26, 2014

Herb Salt Gifts

What to do when the herbs in your garden are growing like crazy and you are in need of some thoughtful, homemade gifts for friends and family?  Herb salts are a perfect option!


I've never tried making my own spices before and haven’t even dried more than a handful of my own herbs until now.  However, the mild Texas winter means my herbs are taking over the garden and need to be harvested.  I also wanted to give my good friends and family a Christmas gift from my garden, so I thought now would be a great time to try out some homemade spices.


After some online searching, I opted to make herb salts, since it would stretch my herbs the furthest so that I could provide even more loved ones my homemade gift.  I had quite a variety of herbs available, so I decided to go with two different recipes, as described below from the Vegan Mother Hubbard website.

ROSEMARY, CITRUS & PARSLEY
2 tbsp minced parsley
1 tsp rosemary (stem removed)
1 tsp finely grated lemon zest
1 tsp finely grated lime zest
2 tbsp kosher or sea salt*

LOVELY HERB SALT
1/4 cup parsley leaves (curly or flat leaf)*
2 tbsp dill (all but the finest stems removed)
2 tbsp sage leaves (no stems)
2 tsp oregano leaves
1 tsp thyme leaves
1 tsp finely grated lemon zest
1/2 tsp rosemary (removed from stem)
3 tbsp kosher or sea salt

INSTRUCTIONS
  1. Use a very sharp knife to chop the herbs into a very fine mince, or put the herbs into a food processor until finely minced.
  2. Pour the salt over the herbs. Continue to chop, until the salt is worked into the herbs, so you have a homogenous mixture (or add the salt the food processor and mix well)
  3. Spread the salt over a dinner plate, and allow the salt to dry overnight or until there is absolutely no moisture left.  The herbs can also be dried in an oven.
  4. Store the dried salt in a sealed container. It will keep for 9-12 months.
NOTE:  Do not use iodized table salt in the recipe.  Kosher and sea salts have better flavor and a texture that will match the minced herbs.


I tripled or quadrupled the recipe in most cases, since I had so many harvest herbs from the garden, and I wanted to gift the salts to quite a few people.  The whole process was quite simple, but was very time-consuming; primarily the part where I needed to remove the individual leaves from the rosemary.  But then again, I’m pretty picky and want to make sure no leaves, woody stems, or little critters are getting into the picked leaves.  I also opted for drying my finished herb salts in the oven instead of letting them air dry.  I mainly did this because I was crunched for time and needed to get the salts packaged before they would have time to air dry. 


To oven dry the herb salts, I spread them on baking sheets and put them in the oven at 170 degrees with the oven door slightly open.  It is important to keep the door open for proper air circulation and to make sure the oven doesn't get above 200 degrees, otherwise the herbs will cook instead of drying.  Every 30 minutes, I removed the herbs from the oven and stirred them up to make sure they were evenly drying.  The baking sheets that had thinly spread salts on them took about one hour total to dry, while the sheets that had a lot of herbs took about two to three hours to dry.  The process worked well, however, I wonder if letting the herbs dry out naturally or in a food dehydrator would keep them more flavorful.  I’ll have to try another method next time to compare the difference.


I then packaged the salts in 4-oz. glass jars that I purchased online and labeled with chalk labels.  The salts should keep for 9-12 months and can be used to flavor a wide variety of dishes, including poultry, red meat, fish, cooked vegetables, and salads.  I hope my friends and family enjoy my homemade gifts!


Tuesday, December 23, 2014

Fall Fruit - Satsuma & Strawberries

This fall, I tried out some new fruit plants in the garden that I haven't gotten around to blogging about yet.

First was a new citrus tree that I planted in the new garden beds - an Arctic Frost Hardy Satsuma.  It's fruit is about the size of a tangerine, but tastes a bit sweeter.  One of the great characteristics of this satsuma is that it is one of the most cold-hardy citrus trees, being able to withstand temperature drops to 12 degrees Fahrenheit.  It is also drought tolerant - a must for my Texas garden, and it is also an evergreen.  The tree will reach 10-12 feet tall and 10 feet wide in the ground, and about half that in containers.


I ended up harvesting about eight fruit off the small tree this year in early November.  The fruit had a mild sweet/tartness and about two to three seeds per fruit.  I'm looking forward to a more mature plant and larger harvest next year.


This year was also my first go at planting strawberries.  I didn't have any room in my veggie beds at the time to get them in the ground, so I tried container planting.  I'm not sure what variety I planted, but the fruit were very petite.  I ended up only getting a few fruit off the plant before our temperatures dipped and the plant stopped flowering.  I wonder if the plants will make it through the winter and produce more for me in the spring.


A big, red, ripe strawberry...


Sunday, December 21, 2014

One Gardener's Trash...

…is another gardener’s treasure.  My friend and fellow garden blogger Melissa of Dirt & Wine was recently doing some landscaping and re-arranging of plants in her garden and ended up with an excess climbing rose that she needed to get rid of.  Being the great friend I am – I volunteered to help her out ;-)  It is always a thrill to get plants from your friends’ or neighbors gardens, and this was no exception.


I placed the rose in one of my new backyard garden beds, where it will be able to climb up the side of the house once I get a trellis in place.  I amended the soil with some special rose soil from Natural Gardener, along with some compost and watered it in well.  I am very new to rose gardening, so I’m not sure what the best care is for transplanted (or established) roses, so I’m still trying to find out how much and what type of fertilizing would be best for my new garden addition.  I’m open to any recommendations my fellow garden community rose experts – so bring on your tips and tricks!


The rose came with Melissa’s recently purchased home, so she does not know what type of rose it is.  She did send some pictures along so I can get an idea of what it will hopefully look like in the spring, assuming it survives the transplanting.  Does anyone know what variety it may be?  It looks very similar to my current climbing rose bush, but I guess we’ll see in the spring if they are the same or not.


I was given the rose that is on the left.  Thanks again, Melissa, for my lovely new climbing rose!

Saturday, December 20, 2014

Holiday Amaryllis & Paperwhites

It has become a tradition of mine to force amaryllis and paperwhite bulbs each fall for beautiful indoor blooms for the holidays.


How to force amaryllis bulbs indoors:
  1. Mix a little bit of water in with potting soil so the soil is slightly damp but not wet to the touch
  2. Place the amaryllis bulb in the dampened soil, making sure the neck of the bulb (top 1-2 inches of round part of the bulb) is above the soil line
  3. Place near a window that receives indirect sunlight and stays around 65 degrees
  4. Wait 3-4 weeks for blooms, watering only lightly when the soil becomes completely dry.


How to force paperwhites:
  1. Place bulbs in containers atop stones, gravel, or glass marbles or pebbles.  I like placing mine in a tall, clear wide vase because it is interesting to see the root systems develop through the planting medium and is also easy to tell how much water is in the container.
  2. Anchor bulbs in place by placing another ½ inch to inch of stones on top of the bulbs so they don’t move
  3. Fill container with water, but only up to the very bottom of the bulb.  If the bulb sits in too much water, it will rot.
  4. Wait 4-6 weeks for blooms, watering enough to keep the root systems in the water.
  5. Stake the paperwhites when they become too tall and start topping over.  I like to use a ribbon to tie all the leaves together – it gives the plant a nice festive holiday look.

This year, I planted one Red Lion amaryllis and about ten paperwhites in early November.  The Red Lion amaryllis bloomed quickly and I was able to appreciate its deep red blooms during Thanksgiving. 


The paperwhites took a little longer to blossom, waiting until the second week of December to put on their show.  However, they keep their blooms much longer than the amaryllis, about 2-3 weeks compared to about a week for the amaryllis.  The paperwhites also have a strong fragrance, white the amaryllis has almost none.


In early December I planted another amaryllis bulb, Minerva, that I had forgotten about that had started to grow cock-eyed in the plastic big box bag it had come in. I thought the stem may correct itself after getting in a proper pot and better sunlight, but it never did rebound fully and the blooms only half-blossomed.  I’m hopeful that the bulb is still storing up enough energy so that I can try again to get beautiful blooms next year.


I plan to plant my bulbs out in my garden after they are finished blooming indoors.  To plant amaryllis and paperwhites outdoors (instructions from easytogrowbulbs.com):
  1. Find a location where the soil drains well. If there are still water puddles 5-6 hours after a hard rain, scout out another site. Or amend the soil with the addition of organic material to raise the level 2-3" to improve the drainage. Peat moss, compost, ground bark or decomposed manure all work well and are widely available. Amaryllis must not sit in soggy soil or the bulbs will rot.
  2. Site your amaryllis where they will receive full sun. Amaryllis will grow in light shade but tend to develop stronger stems and better proportions in brighter light.
  3. Dig holes and plant the bulbs with an inch of the bulb above the soil surface. This is sometimes referred to as planting "up to the shoulders" of the bulb.  The top of the bulb is the part that looks a little like the stem area of an onion and the bottom has a flat plate, often with a few roots attached.
  4. After planting, water well, gently soaking the soil and settling it around the bulb. Then ease off on the water; your bulb doesn't need moisture when there isn't yet growth to support. Amaryllis may be planted from September through April in warm weather climates. While occasionally flower stalks will develop in the fall, easpecially during the first season, mid spring is the typical time for flowering.
  5. When in bloom, feel free to cut amaryllis flowers for fabulous bouquets. Amaryllis aren't used widely in the U.S. for cuts but they are very popular in Europe. Pretend you're in Paris!
  6. After blooming has finished for the season snip off the old flower stalks but leave the foliage in place; don't cut it off. The leaves will gather sunlight, create food through photosynthesis and strengthen the bulb for the future. Water as needed during active growth periods, about 1/2-1" of moisture per week is a good estimate. In warm regions amaryllis foliage is evergreen and continues to look good year round.
  7. In zone 8, mulch your plants in late fall with a 3" layer of leaves or pine needles to reduce the chances of the bulbs being subjected to ongoing freeze and thaw cycles as these are hard on amaryllis. Remove the mulch in the spring to prevent moisture from being held against the top of the bulbs.


Sunday, December 14, 2014

Garden Blogger's Bloom Day - December 2014

It is time for me to join Carol again over at May Dreams Gardens for a monthly view of what is blooming in the garden.

There aren't too many December blooms in my USDA Hardiness Zone 8b garden.  Those that are in bloom are featuring shades of purples and pinks.

A new bloom this month is the Oxalis Iron Cross.  These were some free bulbs that I got along with my fall bulb purchase.  The dainty pink flowers are very charming.


The pansies are a cold-weather performer.  I haven't had to protect these guys from any of our mild freezes, nor have I needed to provide them any supplemental water.  They do well with the misting precipitation that we get every few days.


Pansies always make me think of Alice in Wonderland.


The purple trailing lantana is helping to provide nectar to the few remaining butterflies that have stuck around for the Texas winter.


The hot pink of the autumn sage brings a pop of color to the front beds.


The vitex is looking pretty bare these days, but there are still some blooms hanging on.


Thanks for joining me for my December blooms.  Be sure to check out other gardeners' blooms over at May Dreams Gardens.